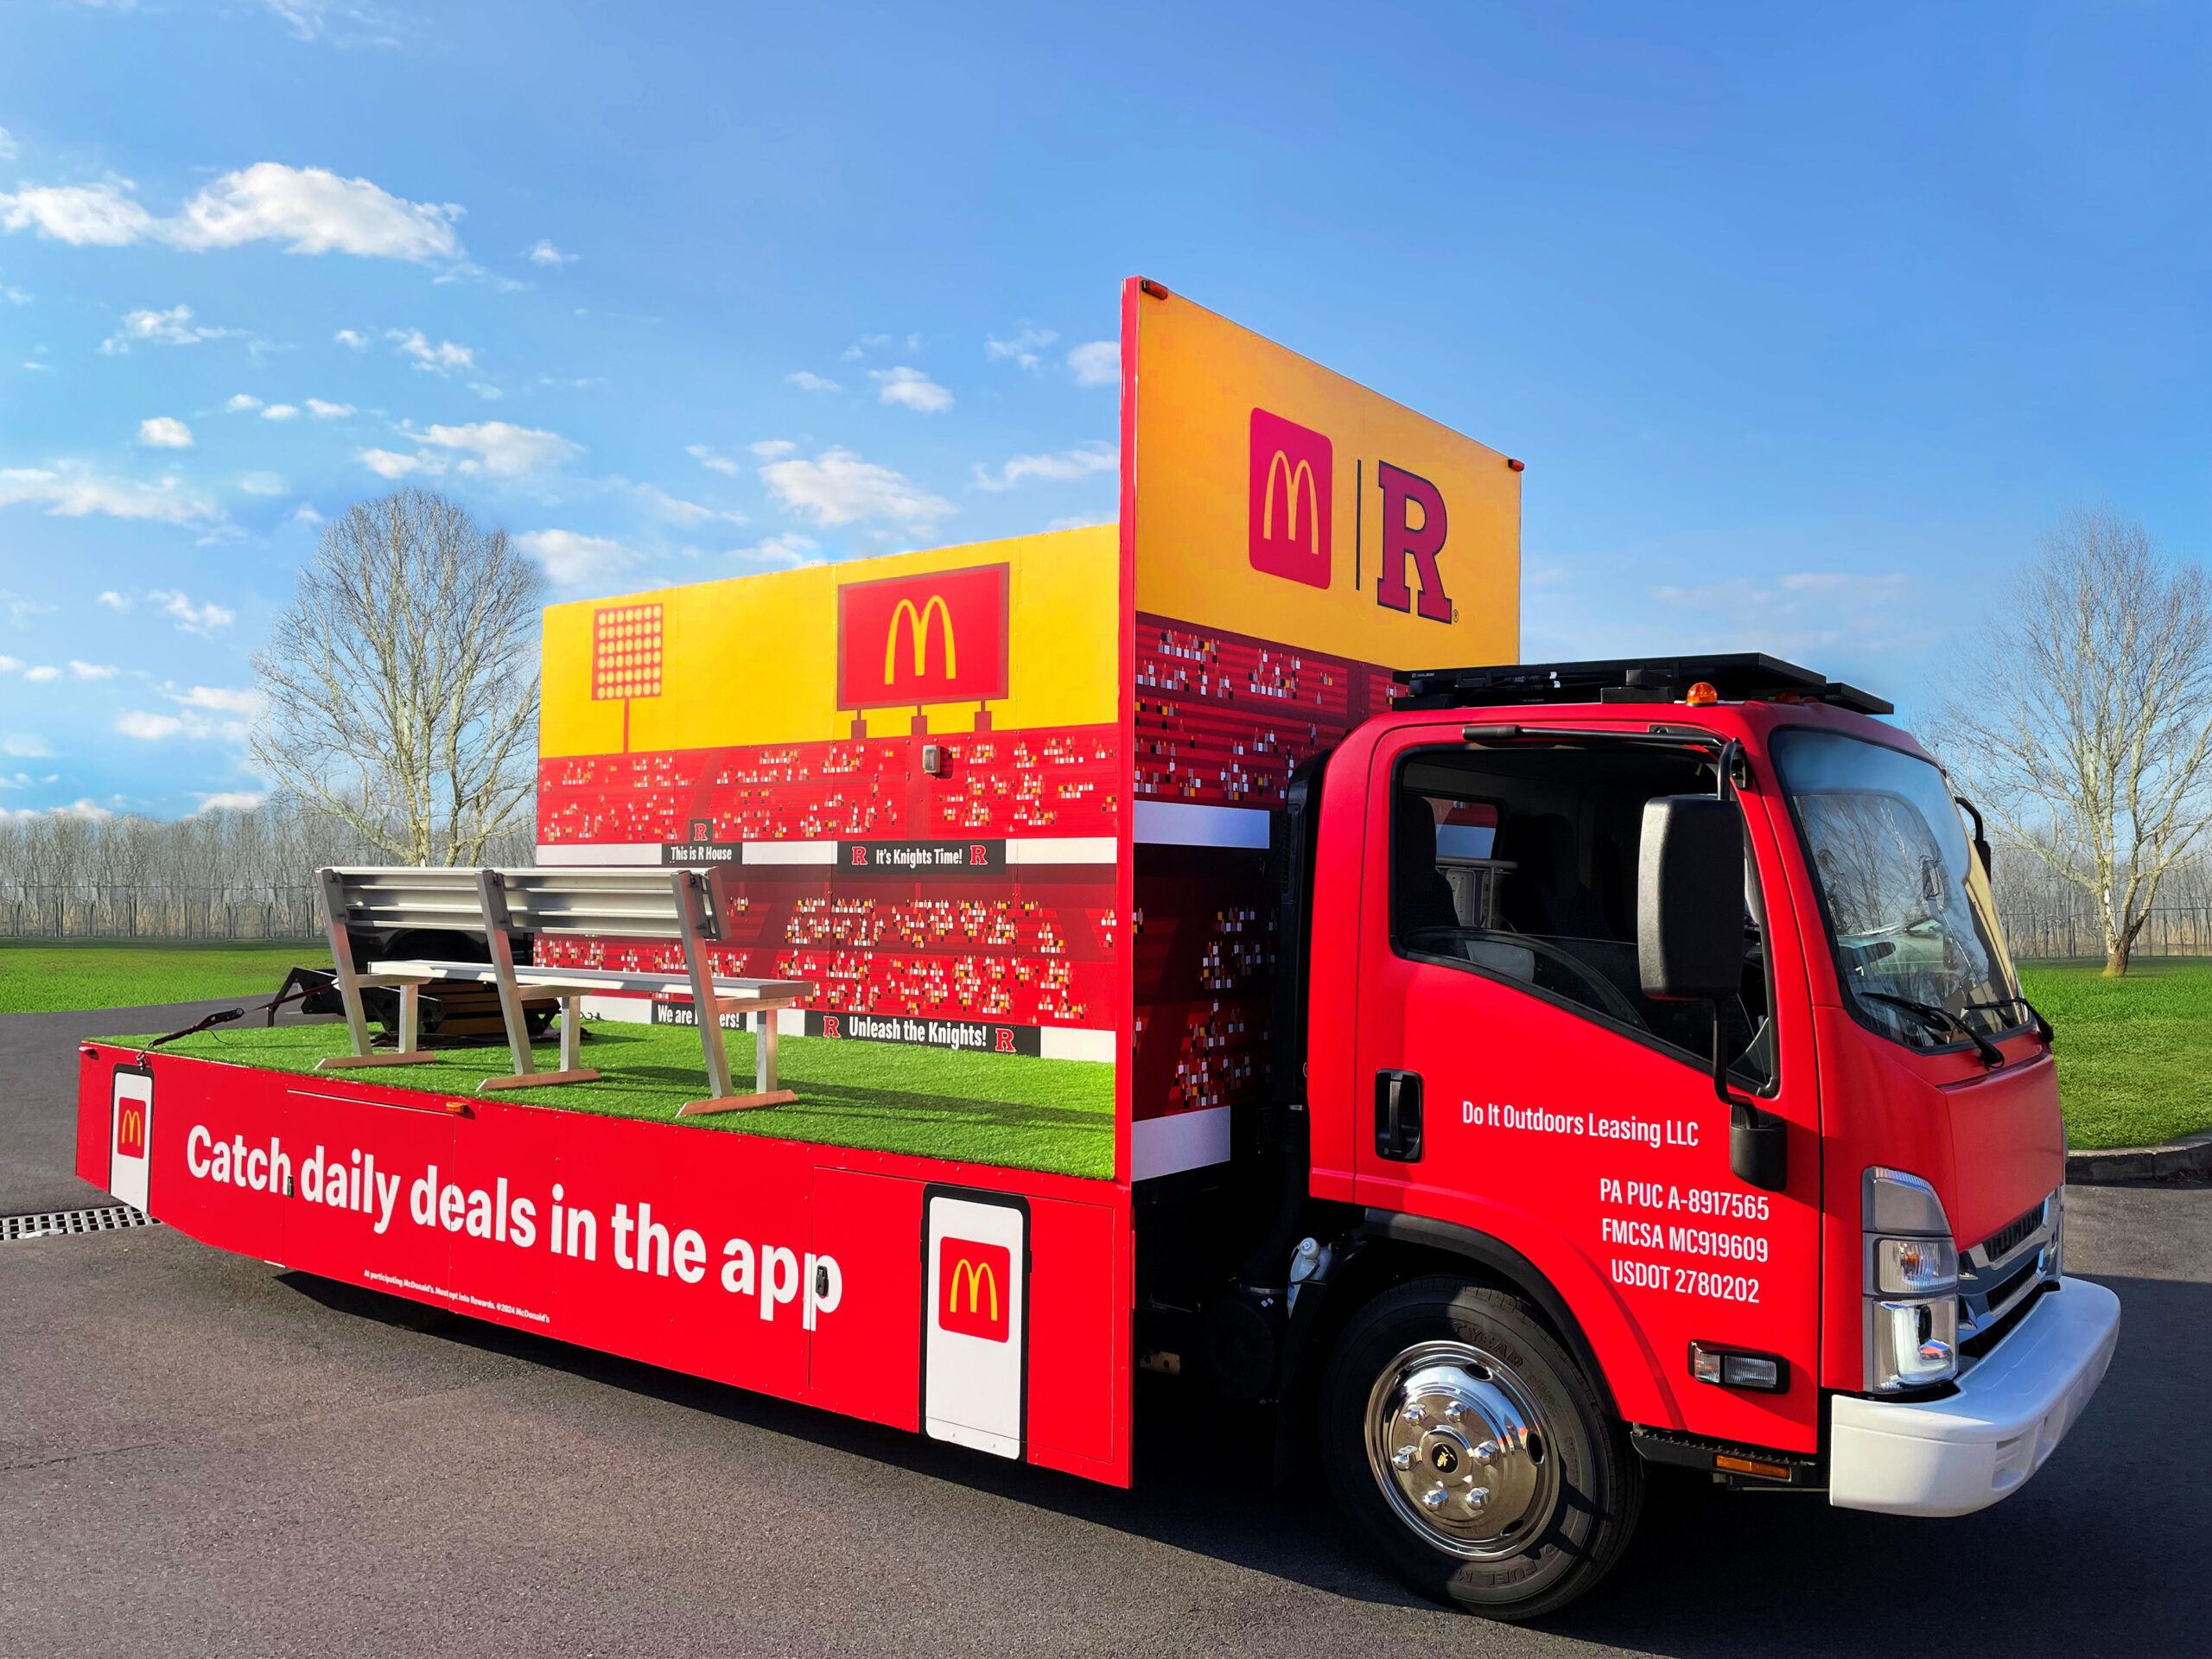
On a busy trade show floor, attendees make split-second decisions. They scan the aisle, take in what is around them, and decide in a matter of seconds whether a booth is worth stopping at. More often than not, that decision is driven by graphics.
Trade show graphics are your first point of contact, your brand statement, and your strongest tool for creating attention in a crowded environment. When they are done well, they stop traffic. When they fall short, even a well-designed exhibit can disappear into the noise.
At Exhibit Studios, we approach trade show booth graphics design as a discipline that combines technical precision with visual strategy. Here is what goes into graphics that actually perform.
Large-Format Printing: Where Quality Starts
Backwall displays, hanging signs, tension fabric structures, and floor graphics all require large-format printing capabilities that go beyond standard commercial print.
Large-format printing for trade shows involves:
- Wide-format inkjet printing on rigid and flexible substrates
- Dye-sublimation printing for tension fabric graphics and soft displays
- UV-curable printing for dimensional surfaces, laminates, and specialty materials
- Direct-to-substrate printing for counters, kiosks, and structural panels
The print method matters because different substrates and applications require different processes. A dye-sublimation print on tension fabric produces vibrant color and clean detail at large scale. A UV print on a rigid substrate delivers sharp clarity with protective durability. Choosing the right process for each application is a foundational production decision.
Print Resolution and DPI: Getting the Technical Specs Right
Resolution is one of the most misunderstood aspects of large-format graphics production. Many exhibitors submit files built for standard screen or desktop print resolutions, and the results suffer at scale.


How DPI Works at Large Scale
DPI (dots per inch) and PPI (pixels per inch) both describe the density of printed or digital detail. At large-format sizes, graphics are viewed from greater distances than a standard print. That viewing distance changes the resolution requirements significantly. Our standard for graphics of all sizes is a minimum of 100 DPI/PPI at full production size.
The most common production mistake is supplying low-resolution files scaled up from small originals. Scaling does not add resolution. It distributes the same limited detail across a larger area, which produces soft edges, visible artifacts, and washed-out imagery at full size.
Vector vs. Rasterized Elements: Why It Matters for Resolution
Understanding the difference between vector and rasterized elements is essential for large-format print quality. Vector shapes are built from paths rather than fixed pixels. They can be scaled to any size without any loss in quality. Rasterized elements, by contrast, are made up of a fixed grid of pixels. The larger they are printed, the more that resolution is spread thin, and quality declines.
Vector shapes are especially important for logos, type, and graphic shapes. These elements should always be supplied as vectors so they remain sharp at any scale. The only rasterized elements in your files should be photographs and image-based artwork. Everything else should be vector.
File formats that support vector shapes include:
- Editable PDF (with live vector artwork, not flattened)
- EPS (Encapsulated PostScript)
- SVG (Scalable Vector Graphics)
- Adobe Illustrator (AI) and Adobe Photoshop (PS) native files with live vector layers
Our project managers and graphics managers review all artwork for proper resolution, vector integrity, spot colors, and type before a single proof is pulled. Any issues are flagged to the client before production begins. We proof all graphics once files are set up for print so there are no surprises. File problems are resolved in pre-production, not on the show floor.
Color Accuracy: Matching Your Brand Across Every Surface
Color accuracy is not a finishing touch. It is a production discipline. Brand colors that print inconsistently across graphic panels, materials, or backlit versus non-backlit surfaces undermine the cohesion your exhibit depends on. Our team manages color from file review through final output to make sure what you see in proof matches what you see on the show floor.
All brand colors and logos are checked against swatch references during file review. Our team works from Pantone book colors as the standard for the most accurate, consistent results across substrates. Because backlit and non-backlit materials transmit and reflect light differently, colors must be matched across both applications to read as intended in the booth environment.
A few color fundamentals every exhibitor should know:
- All print files must be set up in CMYK, not RGB. RGB is a screen color mode and will shift unpredictably when converted to print. Files submitted in RGB are converted during pre-production review.
- Pantone (PMS) colors provide the most consistent reference for brand color matching across materials. Whenever possible, supply Pantone references alongside your CMYK values.
- Backlit graphics require specific color compensation. Colors that look accurate on a standard non-backlit surface will read differently when illuminated from behind. Our team adjusts for this during production so colors remain true across all graphic elements in the booth.
Color management is handled as part of every project, not as an upgrade. When your brand colors are accurate and consistent across every surface, the exhibit communicates with the credibility it was designed to project.
Material Selection: Matching the Surface to the Application
Not all graphics are printed on the same material. The substrate, finish, and construction of each graphic element should be specified based on how and where it will be used.
Common trade show graphic materials include:
- Tension fabric: Lightweight, wrinkle-resistant, and ideal for backwalls, hanging structures, and curved frames. Dye-sublimated graphics produce seamless, vibrant output with no visible seams at scale.
- Rigid substrates: PVC foam board, aluminum composite, and acrylic panels are used for structural graphic surfaces, dimensional elements, and areas requiring a hard, polished finish.
- Vinyl graphics: Applied directly to surfaces or printed on banner material, vinyl is used for large hanging displays, floor graphics, and exterior-facing applications.
- Backlit film: Specifically engineered to transmit light evenly, backlit film is used in lightbox frames and illuminated display structures for maximum visual impact.
- Laminate options: Matte, gloss, satin, and textured laminates protect printed surfaces and alter the visual finish of the graphic to match the exhibit aesthetic.
Material selection affects not just appearance but durability, packability, and reusability. A tension fabric graphic can be washed, repacked, and reused across multiple shows. A rigid print may offer a premium finish but requires careful crating. These are production decisions that should be made early in the design process.
Backlit Visuals and Lighting: Visibility as a Design Tool
Exhibit lighting design is one of the most impactful and most underutilized tools in trade show graphics. Light does not just illuminate a graphic. It transforms how the graphic reads, how deep the visual feels, and how far the booth’s presence reaches across the show floor.
Backlit Displays
Backlit displays are typically produced using LED-illuminated frames with backlit graphics that are engineered to transmit light evenly across the entire surface. The result is a glowing, high-contrast image that reads clearly from a distance and draws attention in any lighting environment.
Backlit displays are particularly effective for:
- Brand imagery and product photography that benefits from luminosity and depth
- Booths in lower-light sections of a convention hall where ambient light is reduced
- Header panels and signature brand moments that need to anchor the exhibit visually
- Night events, evening receptions, or environments where overhead lighting is inconsistent
Accent and Architectural Lighting
Beyond backlit panels, strategic accent lighting elevates the full graphic environment. LED spotlights, linear lighting strips, and accent lighting fixtures direct attention to key graphic zones, add depth to dimensional elements, and create a visual hierarchy that guides attendees through the space.
- Lighting considerations that affect graphic design include:
- Color temperature: Warm versus cool light affects how printed colors read in the booth environment
- Wash versus spot: Wide wash lighting evens out a graphic surface while spotlighting draws focus to a specific area
- Shadow and depth: Lighting angles create dimensionality on flat graphic surfaces and architectural details
Graphics and lighting should be designed together, not treated as separate deliverables. When the two are coordinated from the start, the result is a cohesive visual environment rather than a graphic that fights with its own illumination.


Booth Messaging and Visual Hierarchy: Clarity Over Complexity
Great print quality means nothing if the message is unclear. On a trade show floor, attendees are moving, distracted, and processing dozens of competing visual signals at once. Your graphics have a narrow window to communicate.
Effective booth messaging is built on a clear visual hierarchy:
- Primary message: Your brand name and core positioning statement, readable from 30 feet or more. This is the largest, most prominent graphic element in the booth.
- Secondary message: A supporting headline or value statement that builds on the primary. Readable from 15 to 20 feet.
- Tertiary content: Product names, feature callouts, or supporting detail. Intended for attendees already engaged and standing within the booth.
Common messaging mistakes in trade show booth graphics design include:
- Overloading graphics with body copy that cannot be read at show-floor distances
- Using similar type sizes across all levels, eliminating hierarchy and focus
- Leading with product features rather than attendee-facing benefits or positioning
- Neglecting negative space, which is the room a graphic needs to breathe and communicate
A strong booth graphic communicates the primary message in under three seconds. Everything else supports that message or provides detail for those who stop. Less is almost always more.
Visual Storytelling: Graphics That Support Brand Positioning
Trade show graphics serve a purpose beyond identification. They tell a story about who your company is, what you stand for, and why someone should stop and engage. Visual storytelling for trade shows is not about filling space with imagery. It is about making deliberate choices that reinforce brand positioning at every graphic touchpoint.
Strong visual storytelling in a trade show context includes:
- Imagery that reflects the customer experience, not just the product itself
- Color palettes that are consistent with brand standards and optimized for large-scale production
- Typography that reinforces brand voice while remaining legible at distance
- Graphic composition that directs attention and creates movement through the space
- Consistency across all graphic elements, from the main backwall to the counter wrap to hanging signage
Every graphic decision is either reinforcing your brand or diluting it. When print quality, material selection, lighting, messaging, and imagery are aligned and intentional, the result is an exhibit that communicates a clear, compelling story from the moment an attendee sees it across the aisle.


Frequently Asked Questions About Trade Show Graphics
What resolution should trade show graphics be submitted at?
For most large-format trade show graphics viewed from 8 feet or more, files at 100 DPI at full production size are sufficient for clean output. Graphics intended for close-range viewing such as counter surfaces or kiosk panels should be submitted at 150 to 300 DPI. Always provide the highest resolution source files available, particularly for photography and detailed imagery.
What is the difference between tension fabric graphics and rigid panel graphics?
Tension fabric graphics are printed using dye-sublimation on lightweight polyester fabric that stretches over a frame. They are reusable, packable, and produce vibrant seamless visuals at large scale. Rigid panel graphics are printed on hard substrates such as PVC, aluminum composite, or acrylic. Rigid panels offer a premium, polished finish and are typically used for structural graphic surfaces and dimensional elements.
Are backlit graphics worth the investment?
Yes, for most exhibiting companies. Backlit visuals produce significantly higher visual impact than standard front-lit graphics, particularly in convention hall environments where ambient lighting is inconsistent. LED lightbox systems are also reusable and energy efficient. If you are competing for attention on a dense show floor, backlit graphics are one of the highest-return investments you can make.
How much text should be on a trade show graphic?
Far less than most exhibitors initially plan. A primary graphic panel should communicate one clear message at large type, legible from 30 feet. Supporting graphics can carry secondary messaging and key points, but body copy paragraphs have no place on show floor graphics. Attendees will not stop to read them. Focus on a headline that stops traffic and a brief supporting statement that earns the conversation.
Can graphics be updated between shows?
Yes. Tension fabric graphics and large-format prints can be reprinted for updated content while reusing the same frames and hardware. This makes graphic refreshes cost-effective for companies that exhibit at multiple events annually. Our team manages graphic versioning and can turn around updated prints efficiently between shows.
How do lighting and graphics work together?
Lighting and graphics should be designed as a single system. Color temperature, fixture placement, and lighting intensity all affect how printed colors read in the booth environment. When graphics and lighting are coordinated from the start, colors stay true, key visual moments are amplified, and the overall exhibit environment communicates as intended. Designing them separately often results in graphics that look different on the floor than they did in production.
Elevate Your Booth Graphics
Trade show graphics are a strategic investment. The right combination of large-format print quality, material selection, lighting integration, and clear messaging creates a booth presence that performs from the moment the show opens.
At Exhibit Studios, we bring the production expertise and visual strategy experience to help you get it right. Whether you are refreshing existing graphics or building a new exhibit from the ground up, we are ready to help. Big booth? Small display? Tight deadline? We’ve got you covered. Let’s start the conversation today.